Kandy in Kotlin Notebook
Kotlin Notebook represent interactive notebooks equipped with rich output capabilities, allowing you to explore and experiment with Kotlin code without the need for additional environment setup. The Kotlin Notebook plugin facilitates the creation and editing of notebooks directly within IntelliJ IDEA. This plugin not only encapsulates the various functionalities available in regular Kotlin files in the IDE but also incorporates additional extensions exclusive to Kotlin notebooks. These features include advanced syntax highlighting, code insertion hints, checks, and the utilization of search and refactoring functions, all aiding in enhancing your Kotlin coding efficiency.
The Kotlin Notebook plugin infuses IntelliJ IDEA with interactive development capacities, complementing the robust language support Kotlin offers within the IDE, paired with the versatile visualization potentials browsers provide.
Install Kotlin Notebook and Use Kandy
To start, install IntelliJ IDEA Ultimate
The plugin can be installed through IDEA settings, from the marketplace, or from a local archive file (ZIP or JAR).
Open IDEA and press Cmd+comma to open the IDE settings
Select
Navigate to the tab
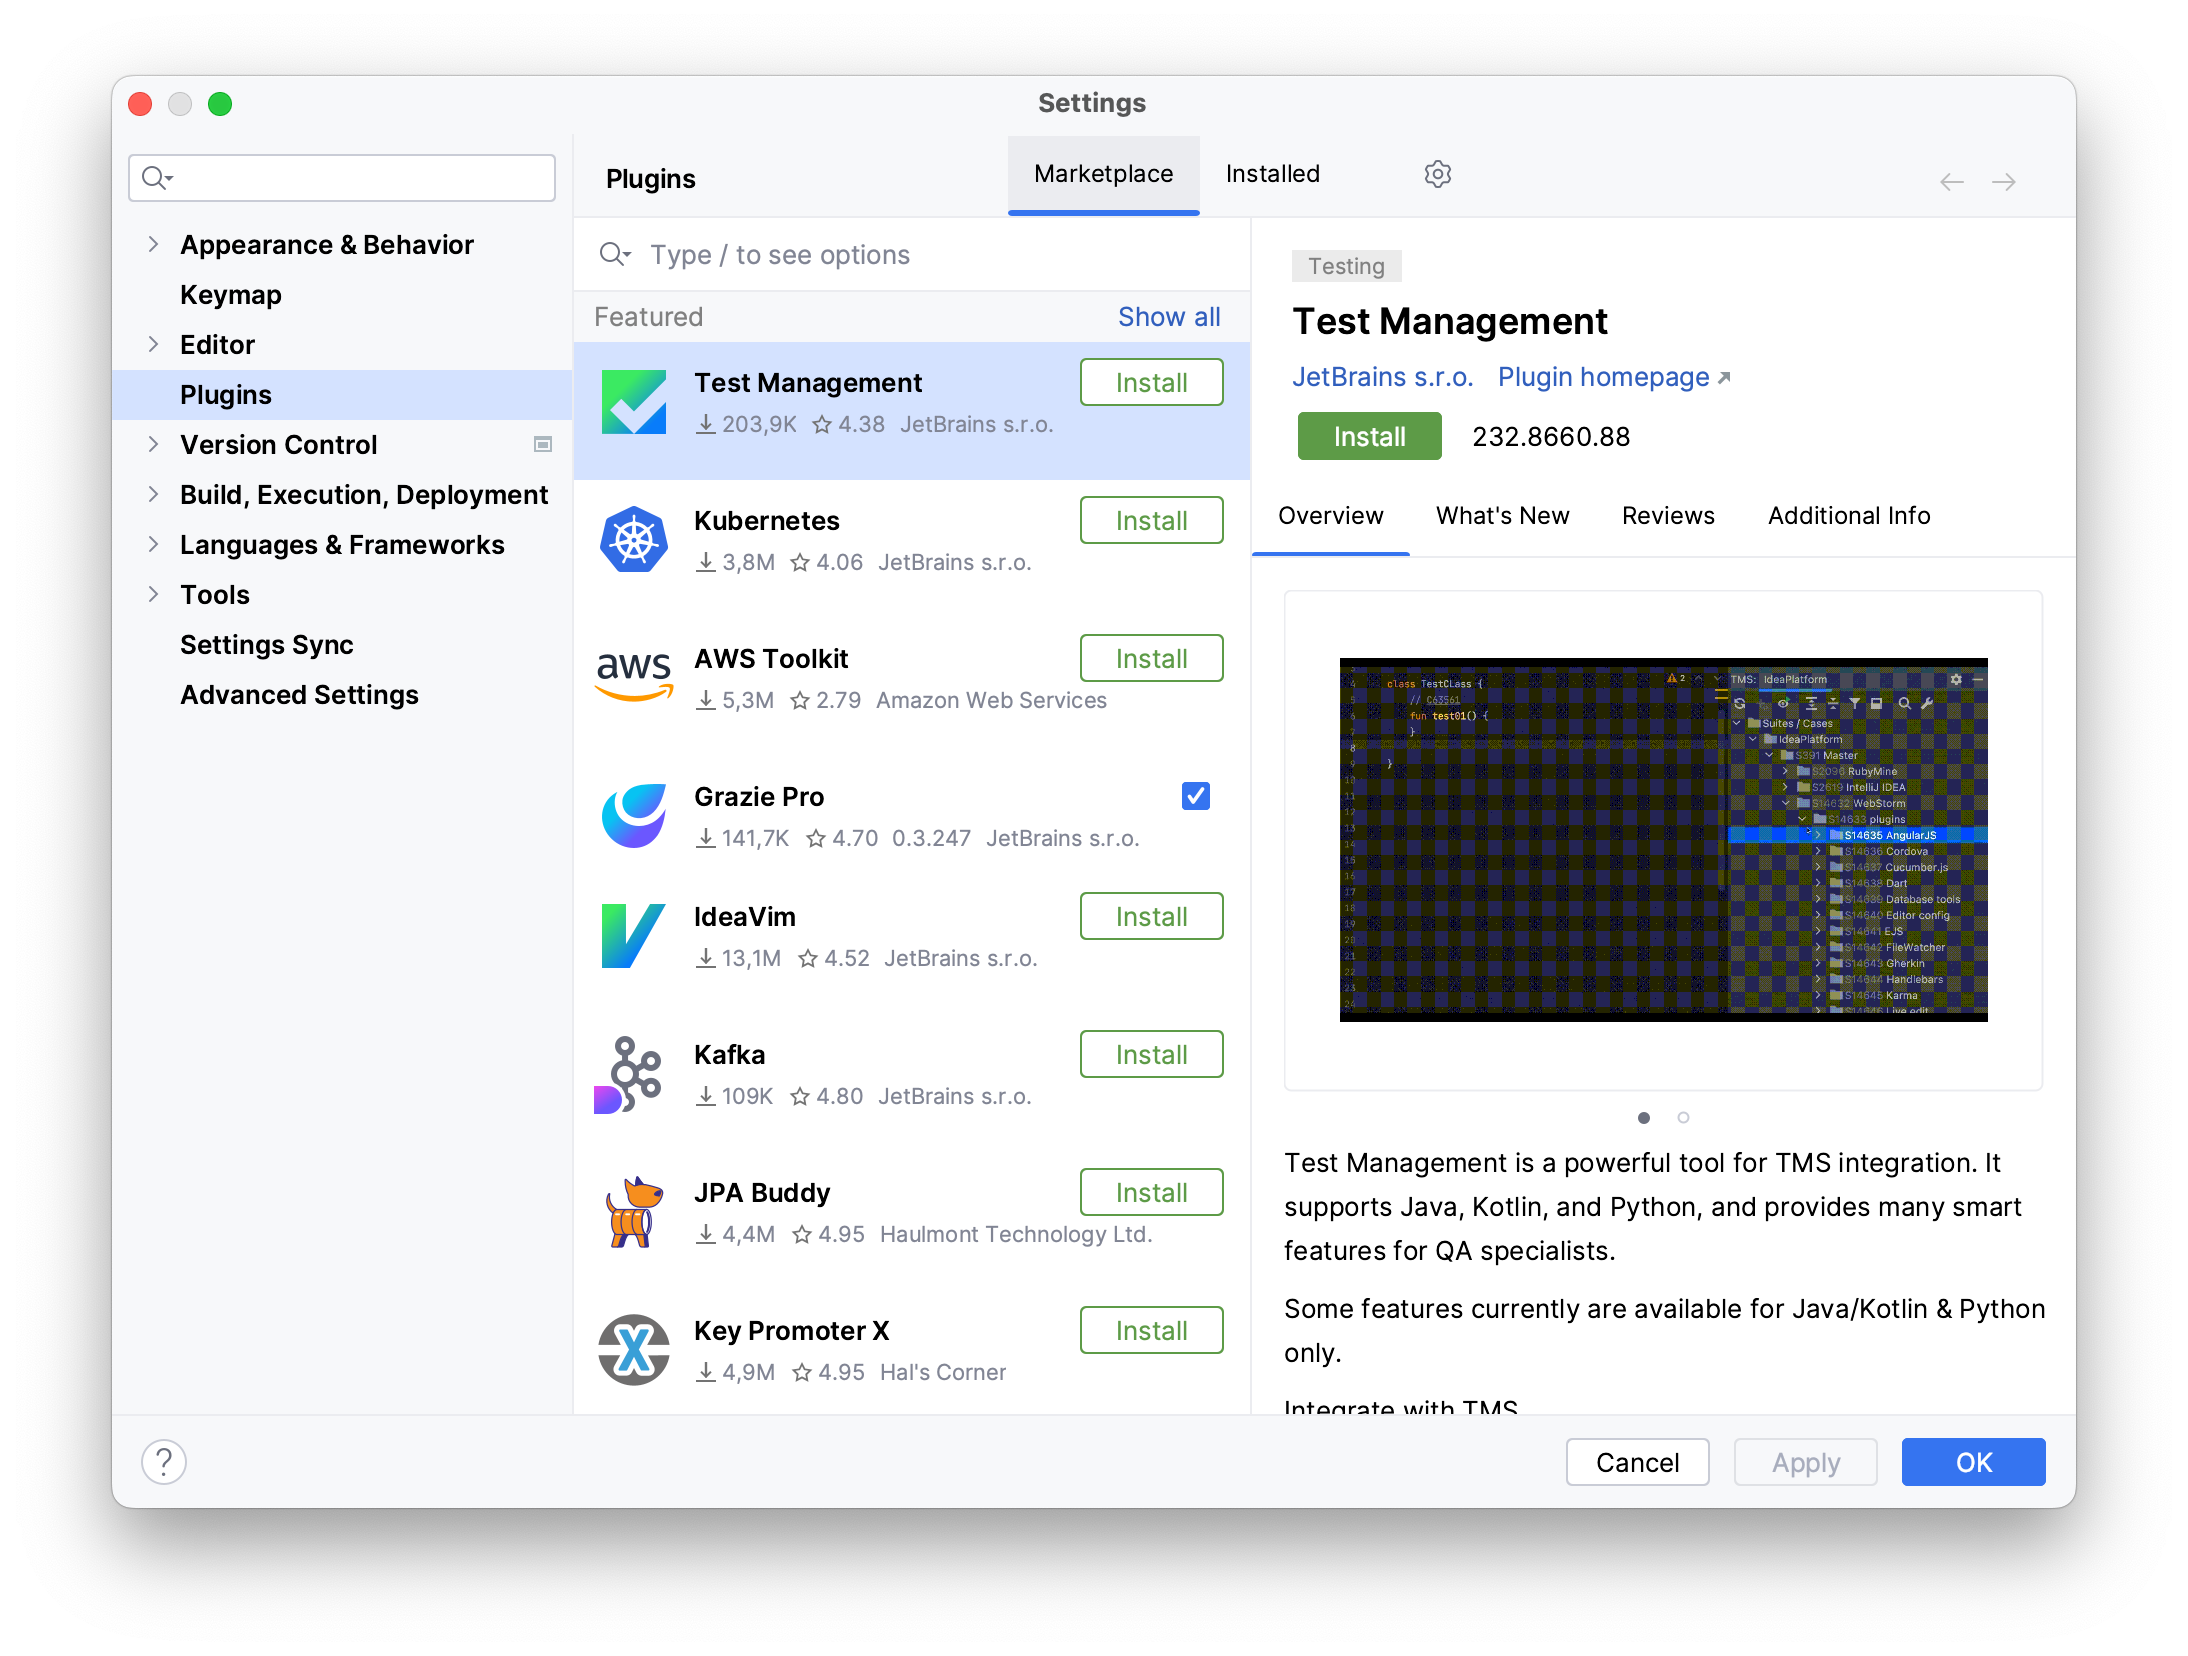
In the search bar, type
Kotlin NotebookLocate the plugin and initiate the installation by clicking the button
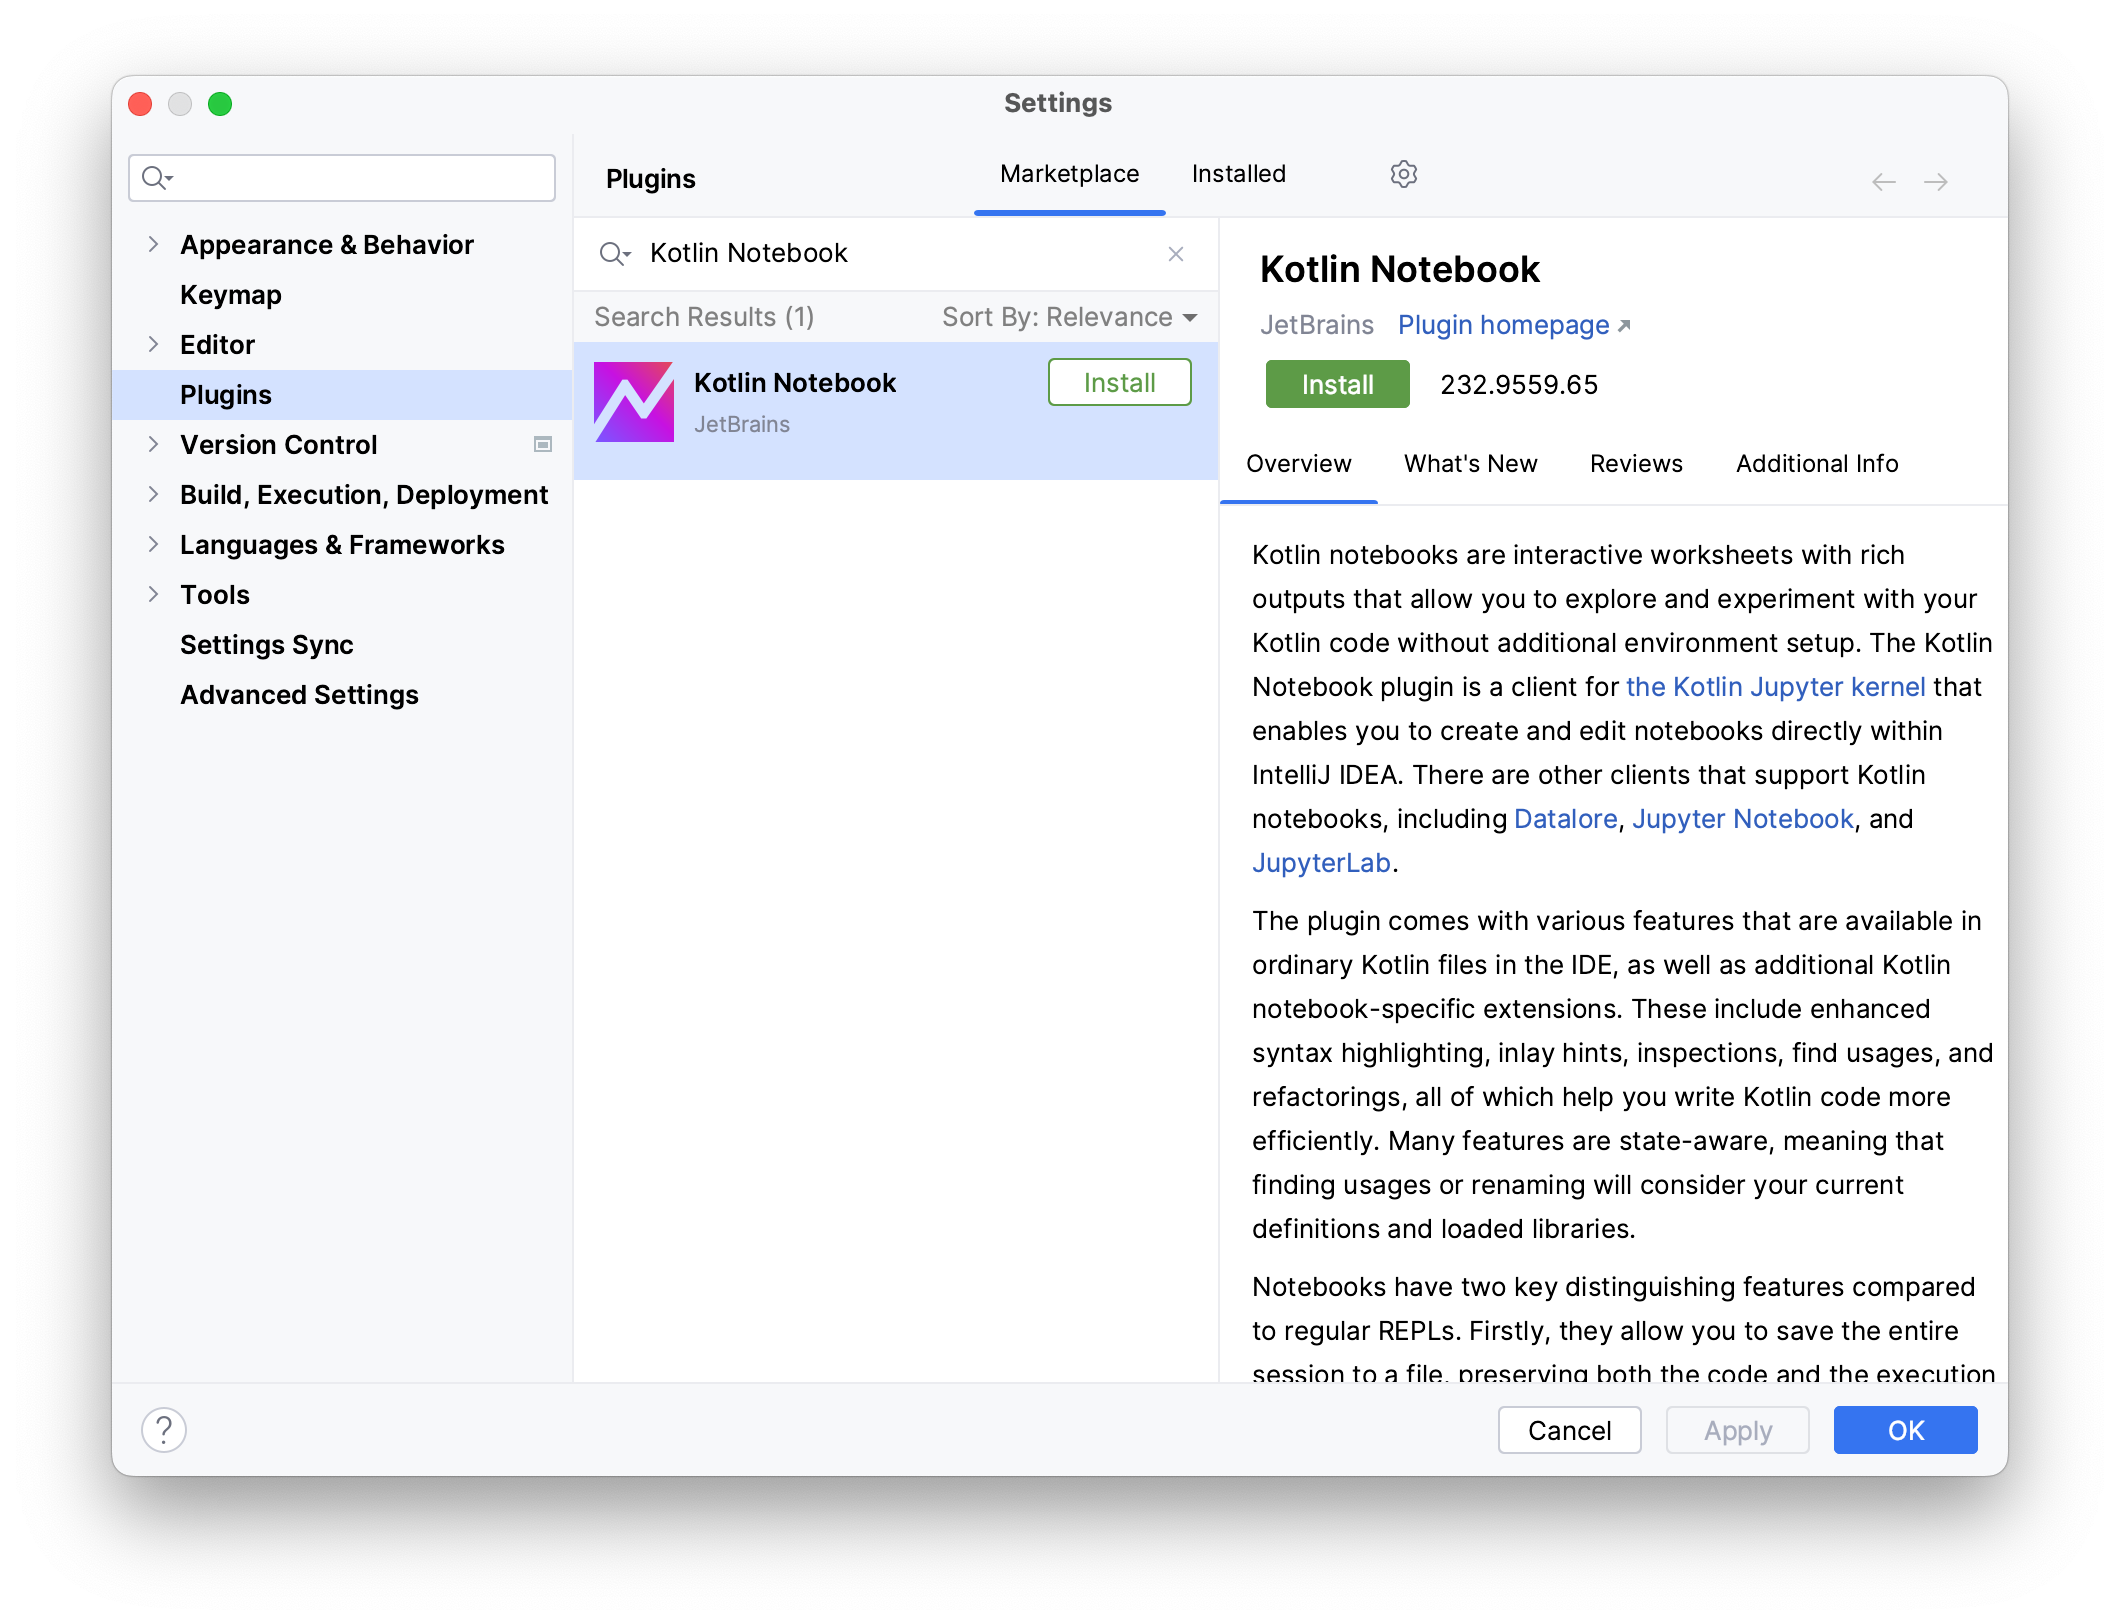
Click to apply the changes and restart your IDE if prompted
Open the plugin page in JetBrains Marketplace
Click on
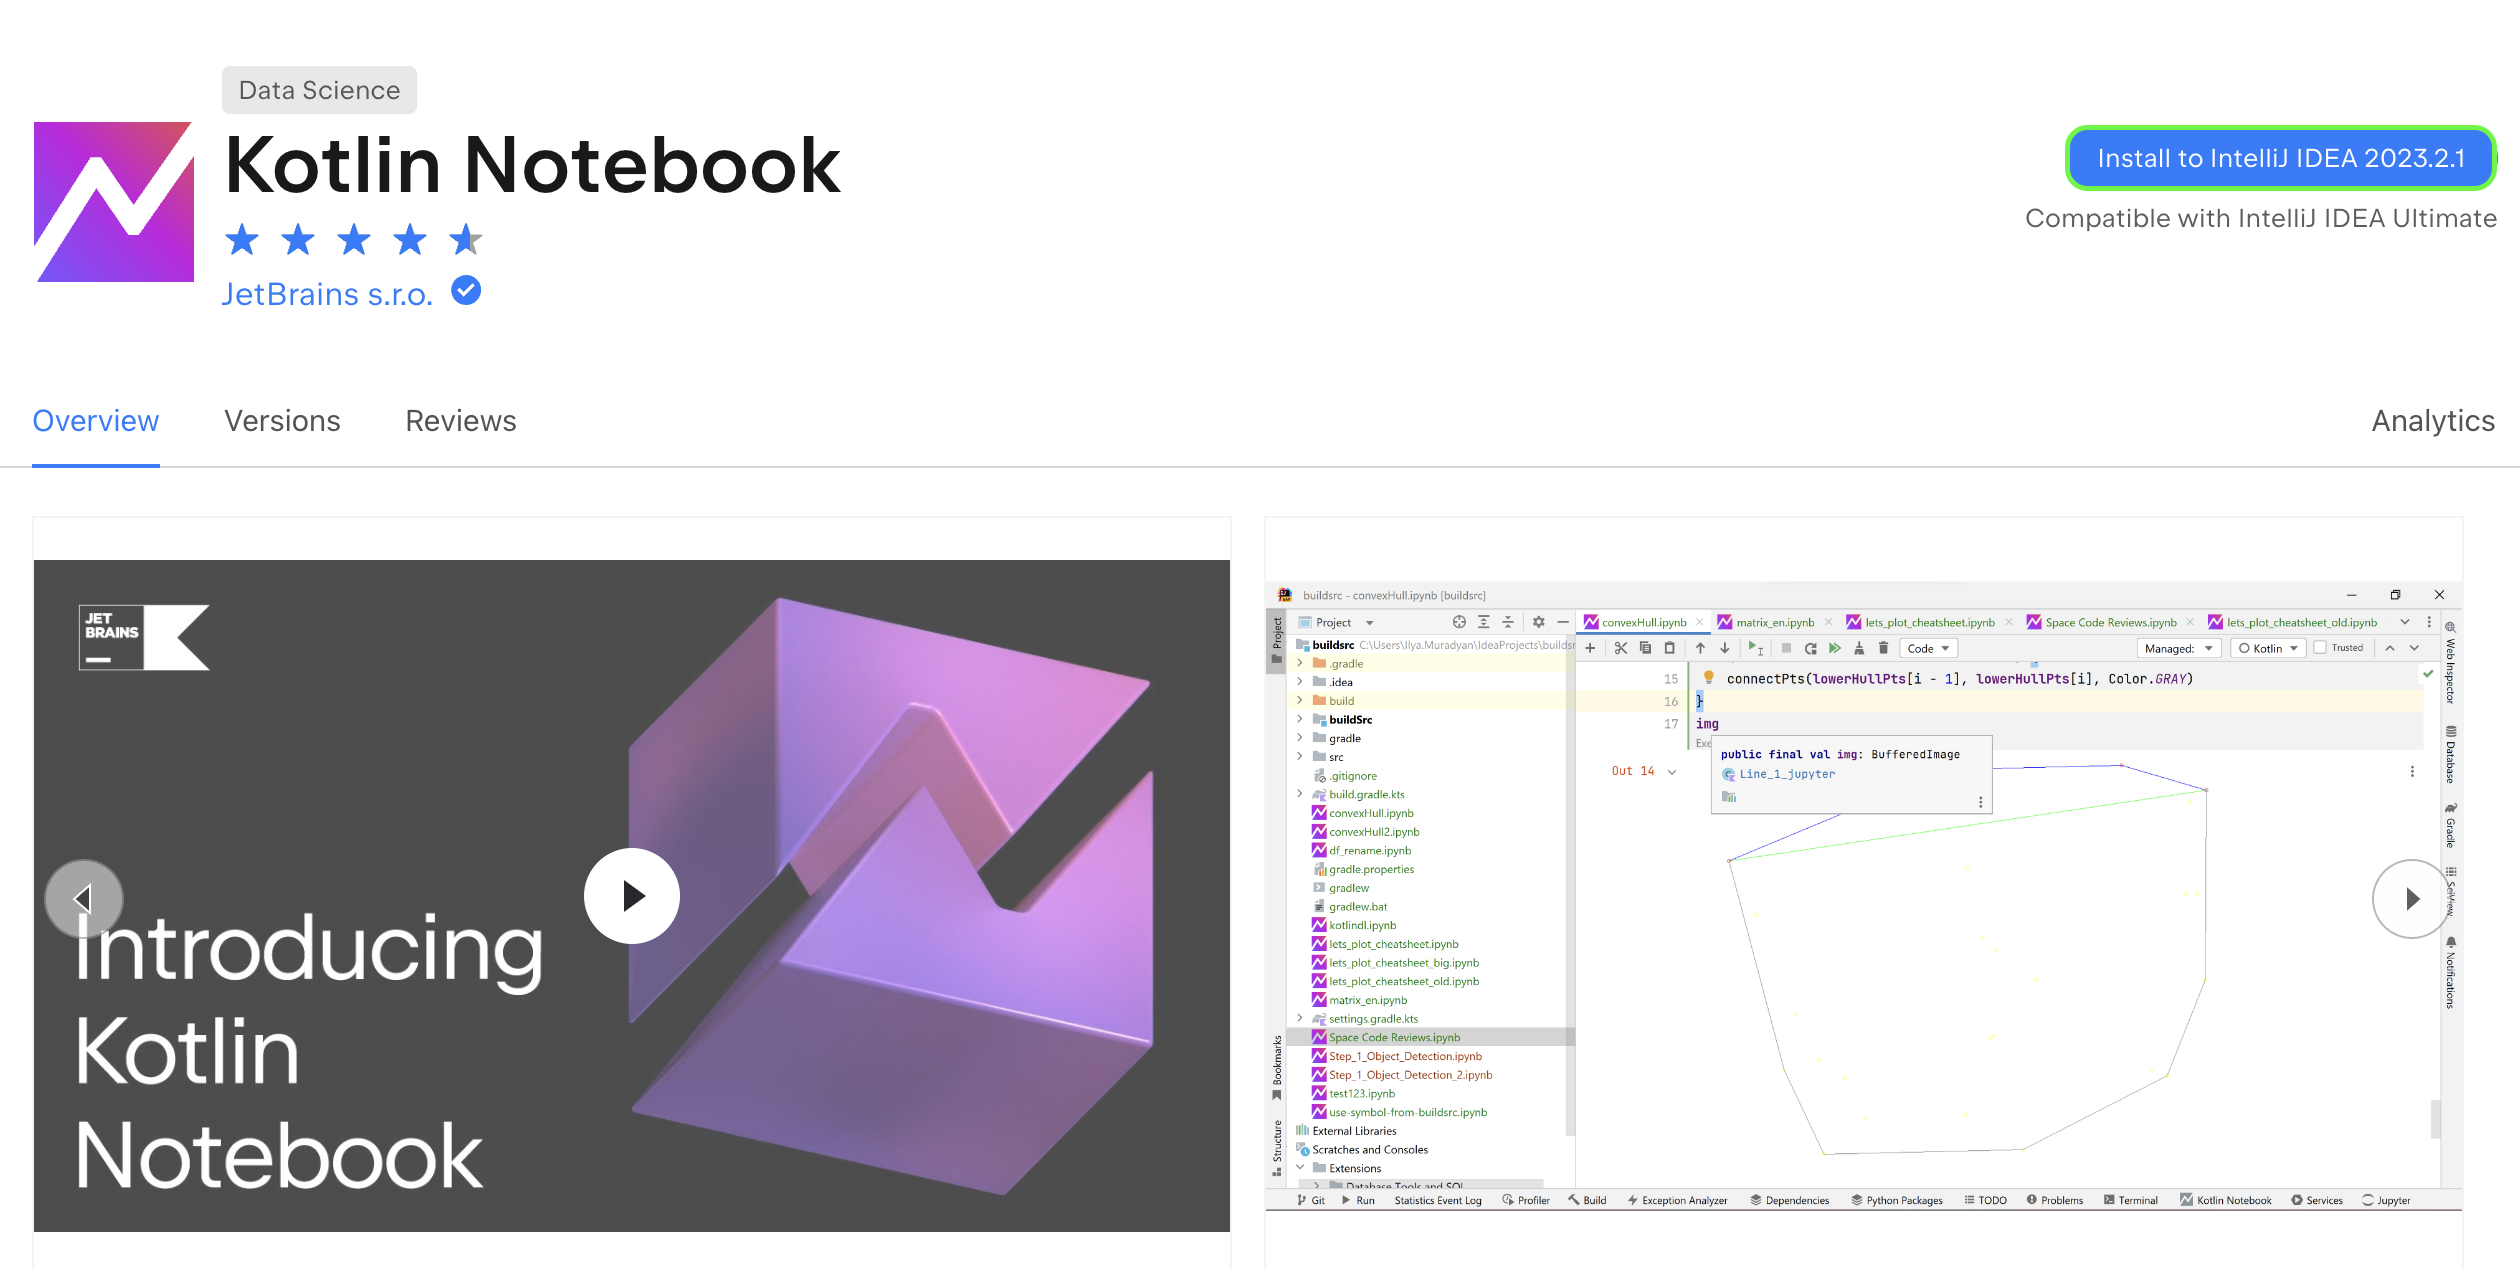
Restart your IDE if prompted
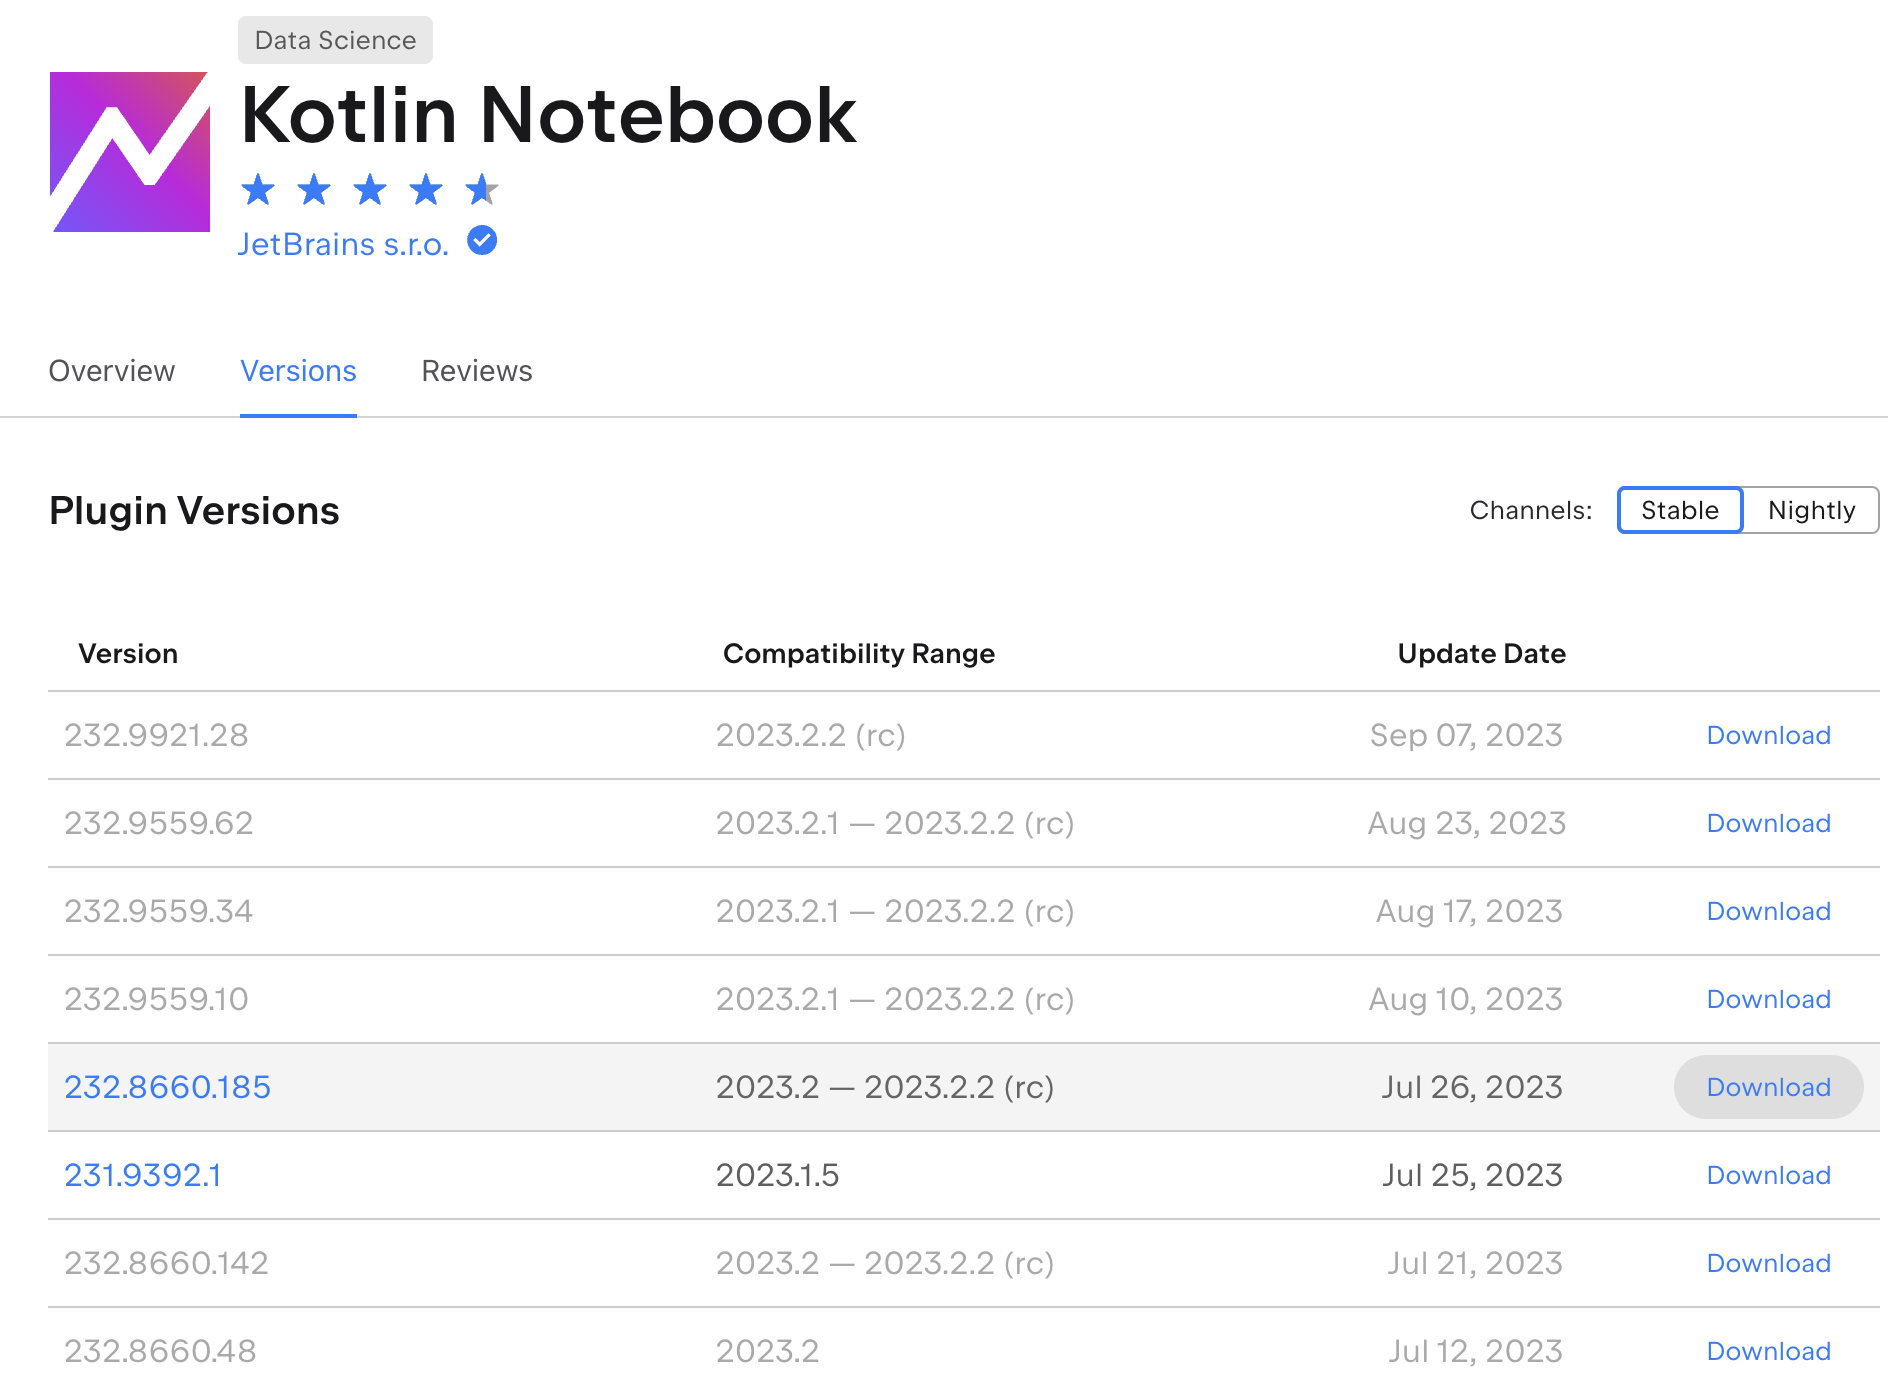
Open the plugin page in JetBrains Marketplace
Go to the tab
Download the specific version of plugin
Open IDEA and press Cmd+comma to open the IDE settings
Select
On the Plugins page, click on
button and then click on
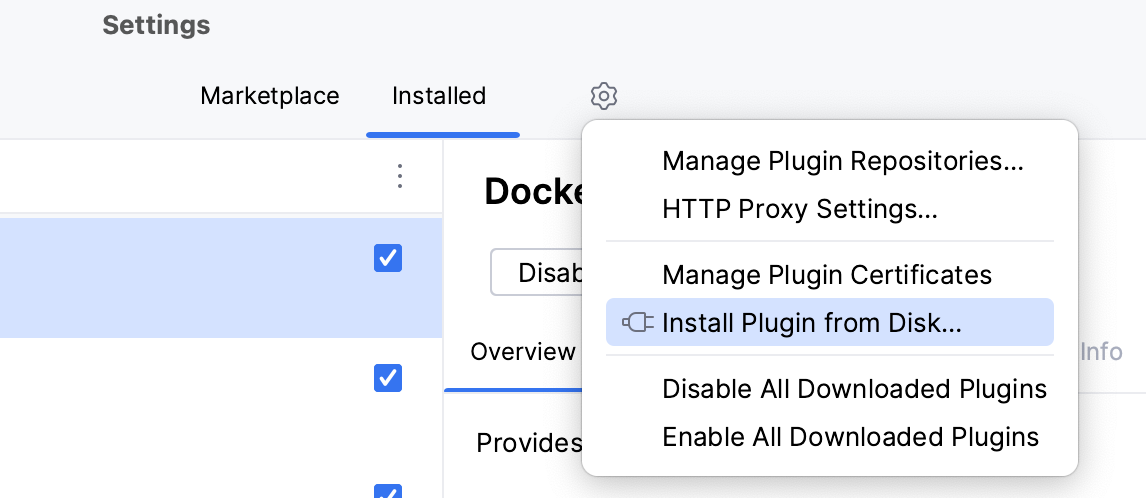
Restart your IDE if prompted
Create a New Project in IDEA
From the main menu, select .
In the panel on the left, select . Select Kotlin language as language for the new project.

Click button.
In the newly opened project, create a new Kotlin Notebook file. To do this, press Cmd+N in the project tree or right-click with your mouse. Select file.
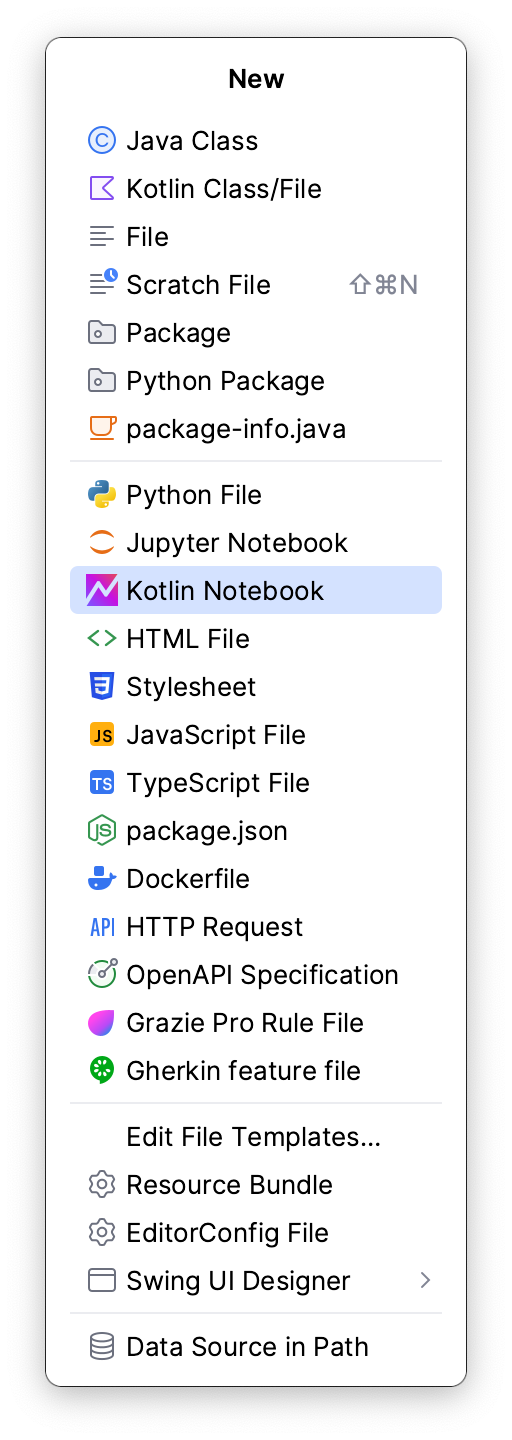
In the notebook, execute the following cell to add the Kandy library:
You now have access to the Kandy library within your Kotlin Notebook.
Plotting a Simple Example
Let's create data that will be used to construct the plot. This data will represent the average annual temperatures in various cities. When working in interactive notebooks, it is advisable to divide the data creation and plot construction into two separate cells. This approach ensures that extension properties are generated for our columns in the DataFrame, allowing us to reference them easily.
First, create a DataFrame containing data on the average temperatures in different cities as follows:
Next, construct a simple plot using the data from the DataFrame:
This supplementary schema outlines the key elements of Kandy's DSL, providing a quick reference to assist you in building your visualizations.
plot
For more examples, please see the Examples section.